The Essential Guide to Preparing Your Fence for a Stunning Stain Application Jan 25, 2026
Begin with a Thorough Inspection
Start by conducting a detailed inspection of your fence. Look for any signs of damage or wear, such as loose screws, cracked or split wood, and rotting sections. Addressing these issues is crucial before staining, as neglected repairs can worsen over time, undermining your efforts. Replace any damaged boards and tighten fasteners to ensure the structure is sound.
Clean the Surface
One of the most important preparatory steps before staining is cleaning the fence thoroughly. Over time, fences accumulate dirt, mildew, and other impurities that can affect the adhesion of the stain. Use a power washer or a garden hose combined with a scrub brush and a mix of water and mild detergent. Focus on all areas, making sure that dirt and grime are completely removed. If you notice any mildew or mold, a solution of water and vinegar can be quite effective at removal. Allow the fence to dry completely, as moisture can prevent stain absorption.
Sanding for a Smooth Finish
Once your fence is clean and dry, the next step involves sanding. Though often overlooked, sanding is crucial for achieving a smooth finish. It helps in opening up the pores of the wood, significantly improving stain absorption. Concentrate on rough areas and any spots where old stain persists. A medium-grit sandpaper or an orbital sander is ideal for this task. Be sure to remove any dust with a broom or leaf blower before proceeding.
Protect the Surroundings
Before staining, it's essential to protect the areas surrounding your fence. Move any furniture, plants, or decorations away from the fence line. Use plastic sheeting or drop cloths to shield nearby landscaping and structures to prevent accidental staining. This simple step can save you from potential clean-up headaches later.
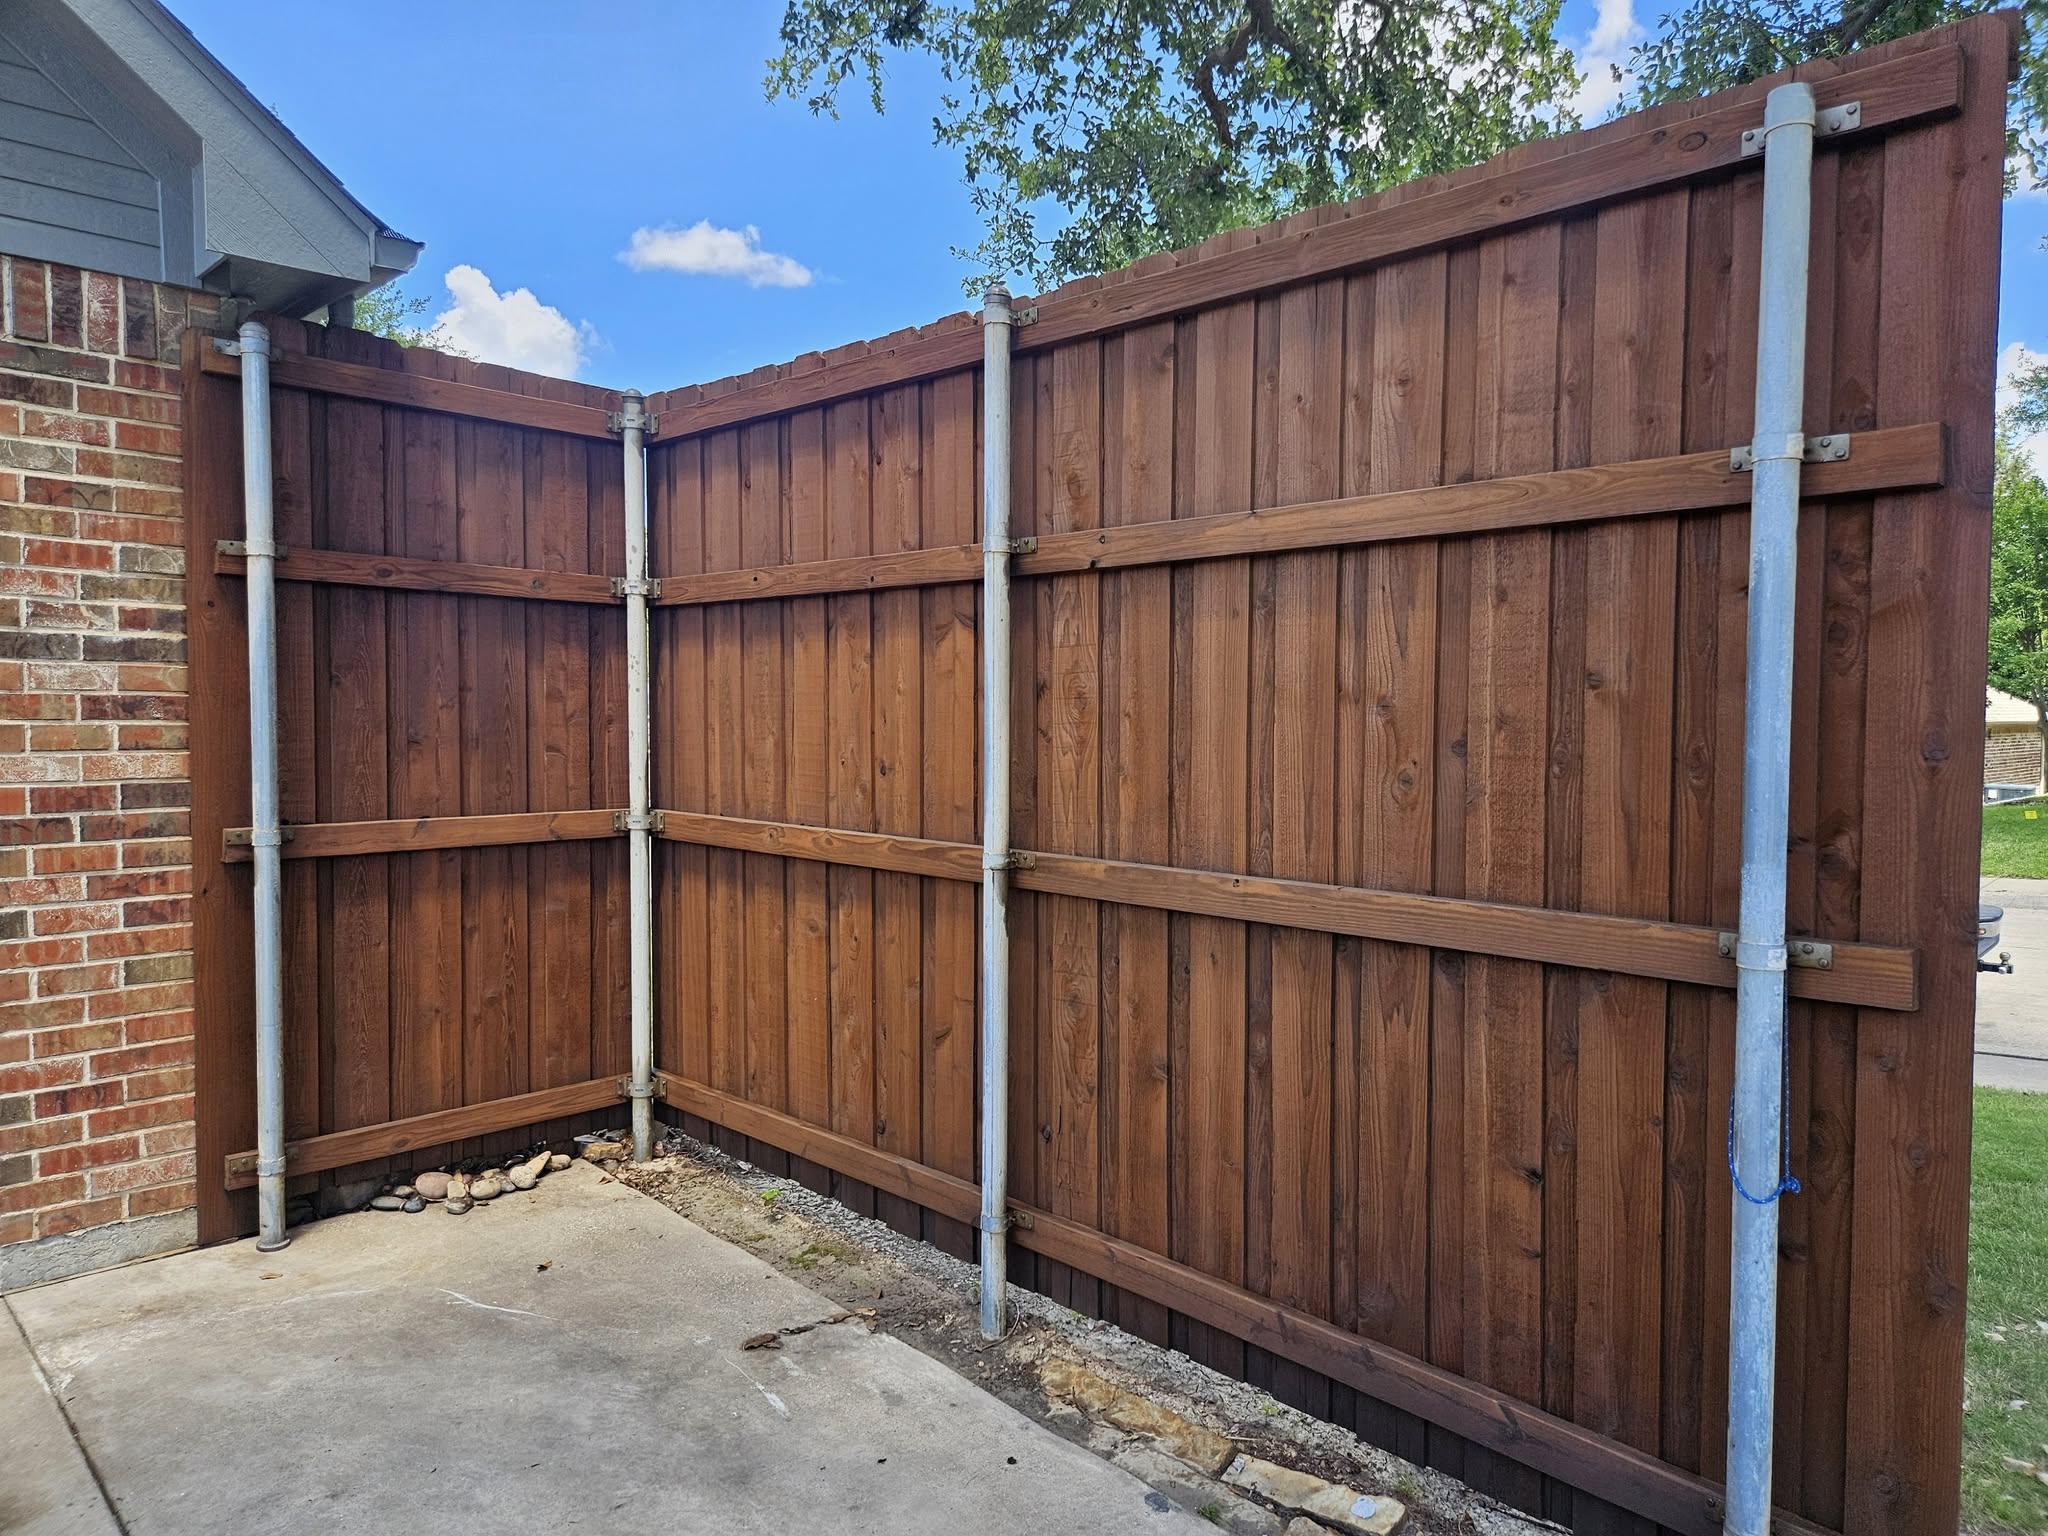
Choosing the Right Stain
Selecting the right stain is a crucial decision that impacts the longevity and appearance of your fence. Consider a high-quality, weather-resistant stain like those offered by Armor Fence Staining, which provides protection against UV rays, rot, and mold. Color choice is equally important; lighter stains can highlight wood grain, while darker tones offer a more consistent look. Read the manufacturer’s instructions to ensure optimal application and drying times.
Application Tips for Success
Equipped with the right tools and preparation, the staining process becomes straightforward. Use high-quality brushes or a sprayer for even distribution. Apply the stain following the grain of the wood to achieve the best finish. Monitor weather conditions, as extreme temperatures or rain can compromise results. A mild, dry day is ideal for application, allowing the stain to set correctly.
Conclusion: The Key to a Lasting Finish
Taking these preparation steps seriously doesn’t just result in a beautiful fence—it offers lasting protection against the elements. By investing time in careful inspection, cleaning, sanding, and using quality materials, your fence will be ready for Armor Fence Staining’s expertise in delivering stunning results. Remember, a well-prepared surface is the foundation for a long-lasting finish, ensuring your fence remains a valued feature of your property for years to come.
/filters:no_upscale()/filters:format(webp)/media/ff81fe64-f851-435c-8d7a-794030937133.jpg)